 Happy National Apple Pie Day!
Apple pie is said to be America's favorite dessert and today, May 13, 2020, is designated to be its nationally celebrated day. How do you like your apple pie? Warm or cool or chilled... A la mode or with whipped cream or are you a purist who likes it plain... Lattice pie crust, or a full double-crust or Dutch crumb topping... Anyway you like it, I hope you're able to enjoy a slice today! Happy Wednesday!
0 Comments
I love working with beginner students, especially little ones. Their creativity, imagination, and willingness to explore inspires & invigorates me. I particularly love the moments when they discover or master something new. The light in their eyes is beyond compare.
We as music educators know that those 30-minutes each we week spend with our students is crucial, but not enough to sustain growth in our students. Effective at home practice is essential to the development of every musician. Practicing can be a little mysterious, especially for young beginners. And if mom and dad don't have much musical experience they might be unable to help, which can make it feel confusing or overwhelming. Over the years I've come up with a variety of tools I use to help my students become independent learners, but practice steps have by far been the most helpful. Breaking down the practice process into easy, bite-sized pieces makes practice more manageable and helps beginner students develop successful practice habits from the start. The cool thing about these practice steps is that your beginner students will experience success with their new pieces before playing a single note. Two quick notes about counting and repetition of steps. Counting is essential through all of these steps! To count during every step, I have students say the finger number/letter name of the note then count the beats the note is held. For example, a whole note played on C would be said "C-2-3-4". I encourage my students to repeat each practice step at home only moving on to the next when they know they've mastered the previous enough to (almost) guarantee success. If they struggle too much with a step, I have them go back to the previous one and review it before trying again. Okay, now onto the Practice Steps! 1. Point & Read I've found this step to be the most crucial step for student success. This is the most basic form of music reading broken down to letter names (or finger number depending on their level) and hands. I have my students point to the notes with the matching hand and read the letter name out loud. There are a few things that I think lead to student success with this step. First, they're isolating the notes that they'll be playing without having to think about finger shape, fingering, rhythm, steady beat, dynamics, or any of the other technical necessities of playing the piano. Second, they are able to analyze their mistakes more quickly. Since their finger is right on the note on the page we both can see what they're looking at, I know whether or not they're looking in the right spot, and we can easily compare the current note to the ones around it making correction a breeze. Third, they're learning how to track the music on the page. How many times have you said, "Look at your music" or "Keep your eyes on the page" or "Stop looking at your fingers"? By bringing both the hands and the eyes onto the music itself, you're starting the connection between all working parts before they even play a note. And lastly, they're making associations between the notes and the hand (fingers will come later). I insist that my students point to right hand notes with their right hand and left hand notes with their left hand. This physical reminder translates seamlessly to their playing. 2. Tap & Read Tap and read is everything from Point & Read with one change, they're tapping the rhythm instead of pointing to the note. This step brings the rhythm to life without overwhelming your student with keys, fingers, technique, dynamics, etc. They're still saying the letter names and counting the rhythms AND they get to feel what those rhythms by tapping. This is where I start getting creative in my teaching. I've had students tap on drums, on tambourines, with rhythm sticks, on their shoes, their head, their bellies. Heck, I've even had students stomp the rhythm in her bare feet. All I ask is that they say the letter name, count the rhythm, and tap with the correct hand. Beyond that, anything goes with this step! I usually have my students do this and the first step a few times during their lesson and I'll sing the note names to help their ear hear what they'll be playing! 3. Play & Say (HS/HT as needed) Now they're ready to start playing! By this point, my student has read the note names, identified, tapped and counted the rhythms, and heard the piece through my voice. Even the most timid or perfectionistic learner will have enough experience to be able to play the new piece. When students play & say, they are saying the note names the same way they did in steps 1 and 2 and playing. It's completely okay if this step doesn't happen during the lesson. Setting up the student's base knowledge of what they're playing will enable them to achieve this step in their at home practice. 4. Play This final practice step is one that my students look forward to because I tell them they aren't allowed to do this step until they have masters steps 1-3! Once the first 3 steps are mastered, playing their piece will be so easy, they won't have to worry. They'll know when they're right and when they've made a mistake. They'll also know how to fix their mistake and learn from it! Here are two free resources to help get you started using practice steps with your students. Practice Step Post-Its are easily moved from piece to piece Practice Step Stickers are smaller Try using these practice steps with some of your beginning students and let me know how it goes! Looking for more resources? I'm adding more to my Teachers Pay Teachers Store all the time!  On Wednesdays we celebrate the Wonderful things in life! It's no secret, I love to bake. I love to bake as much as I love my job, maybe even a little more sometimes (shh, don't tell).
I haven't baked much over the last few years. Between starting & running the academy, getting married, and trying not to put on any more weight than I already had in my 20s, I didn't have much time or energy for it. We've had a stay at home state-mandate for almost 8 weeks now and being home has given me the urge to be in the kitchen more. Don't get me wrong, I still don't have much time, but "where there's a will, there's a way" is a saying for a reason. Last time I experimented in the kitchen, I learned how to bake bread. This time I wanted to try something different, so I started experimenting with aquafaba. What is Aquafaba? You may not have heard the word before, but if you've ever eaten beans, you've definitely seen it. Aquafaba is the liquid left in a can of beans. Most baking is done with chickpea aquafaba, but depending on the application, it is my understanding that any bean "juice" can be used. What do you use Aquafaba for? Aquafaba is primarily used as an egg substitute. It's a very popular ingredient in vegan cooking and baking. I've seen recipes that use it as the base to a sauce, ice cream, butter cream, and much more! I made coconut macaroons and "vegan" brownies with aquafaba instead of eggs. I put vegan in quotes because the recipe itself had all vegan ingredients, but my chocolate chips are not vegan. Here's my coconut macaroon recipe. Enjoy! Aquafaba Coconut Macaroons ¼ cup aquafaba (or 2 egg whites)* ¼ tsp. vanilla extract dash of salt ⅔ cup sugar 1½ cups unsweetened coconut (sweetened coconut can also be used) Preheat oven to 325° Beat the aquafaba, salt, and vanilla until soft peaks form. (This can take 10 minutes to achieve with aquafaba) Gradually add sugar, beating until very stiff and glossy. Gently fold in coconut; drop by rounded teaspoons about 2” apart on parchment lined cookie sheet. Bake for about 20 minutes or until set and golden brown. Let cool on rack. *One 15-oz. can of chickpeas yields about 1/2-3/4 cup of liquid Happy Wednesday! When Life Throws You a Curve-ball, You Make Lemonade: Creating a Morning Routine During a Pandemic5/1/2020 Do you remember when I promised a series on my morning routine and how I was experimenting with different routines and would fill you in along the way?
No? It's okay, I almost didn't remember too. This series began about a month after I started this blog. It was going to be my first big series here and I was excited to dive into different morning routines with you. Then…well you know what happened. Our world was turned upside-down by the coronavirus. I know, I'm tired of hearing and talking about it, but this virus is a major game-changer in our lives and our routines. This blog series is a perfect example of how life got upended. I had planned to post a different routine that I tried every couple of weeks with a final summary that should've come out last week. Instead, I went into survival mode and if I'm totally honest with myself (and you) I still feel like I'm there. I've been trying to write this post for the last several weeks. I spent hours over spring break thinking and staring at the blank screen in front of me. When it came down to writing, I just couldn't find words appropriate to the situation. Here we are on May 1st and I still don't have the words. So rather than of giving an in-depth review of the routines I tried, I'm going to share my takeaways to help you build the best morning routine for you! WHAT KIND OF MORNING ROUTINE DO I NEED? That my friend, is a question that only you can answer. Morning routines vary widely from person to person and what works for me will not necessarily work for the mother or father of 3 or for the senior in college or for the nurse coming off of a 12-hour shift. To find the right morning routine, you have to know what your priorities are for the day and what will serve you best. ASKING THE IMPORTANT QUESTIONS Every morning routine I researched fell into one of three categories: productivity, self-care, or mindfulness with the allowance for overlap. Remember, a good morning routine always serves you. When you know what type of routine you need, make sure you choose activities that answer the following questions for that category. Questions for Self-Care Routines:
Questions for Productivity Routines:
Questions for Mindfulness Routines:
MY BIGGEST TAKEAWAYS Start the day well rested. You won’t enjoy your morning routine if you’re trudging through it groggily and half-asleep. Get yourself a good 7-8 hours of sleep. I know, it’s not always easy for us to get the right amount of sleep, but you’ll be amazed at how good you feel when you’re well rested! Make sure that your morning routine serves you in every capacity. If you need quiet and contemplative, focus on activities that calm and center you. If you have a lot of energy and need something vigorous, throw in some exercise. If you need a boost in creativity or productivity, find ways to spark your imagination. Just because going for a run then doing 20 minutes of yoga before having your coffee and breakfast worked yesterday, doesn’t mean it will work today. Find what you need and adjust your routine to meet you where you are this morning. Give yourself more time than you think you’ll need for your morning routine. I tried several 30 minute or 1 hour morning routines and they ALWAYS took longer! It started making these routines feel like a to-do list instead of the enjoyable way to get my day started. Give yourself at least 10-15 minutes more than you think you’ll need and future you will thank you. Plan your morning routine before you start. I know what you're thinking. "Christie, I'm not going to know how I'll feel in the morning, and what kind of routine I'm going to need, how can I plan it?" Hear me out. If you start trying to change your morning routine flying by the seat of your pants (like I did), you'll get overwhelmed, frustrated and you'll stop before having a routine becomes a habit. Creating a plan for each one of the routines listed above will set you up for future success. So, what makes up your morning routine? Is it serving you or will you be making a shift? Let me know! 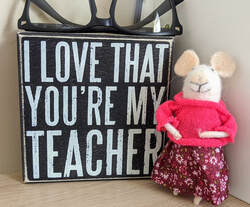 This adorable teacher mouse and sign were a gift from a student who's been with me for 9 years. When she gave it to me, she told me she picked it out herself and got it because she knew I would love it. And she was right!
Happy Wednesday! Sticker-Mania! How Using Stickers in Private Music Lessons Can Enhance Your Student's Experience4/24/2020 Growing up I never had incentives to practice from any of my teacher or my parents. I would simply be given an assignment and I was expected to go home and practice. No promise of a prize or goodie if I did my work, I just had to do it. After years of reading networking with other music teachers, I appear to be one of the few who didn't receive an incentive for practicing. All I can figure is that I wasn't like other kids. I wasn't always the best and most consistent practice-r, but I got it done. When I first started teaching 15 years ago, I was working for another music studio and I found that my students needed a little more push to get some of their assignments done. I tried all kinds of things, but the only thing that worked consistently was stickers. The current sticker incentive program I have for my students is ongoing. How It Started I had a young student bring in one of her school assignments to show me. She had drawn herself practicing the piano. (It was adorable and I wish I had taken a picture) I commented on her beautiful work and asked where the sticker came from. She said her teacher puts one on all of their completed assignments. I didn't think much of it at the time and gave an "oh that's cool" type of response. When got into her lesson, she asked if she could have a sticker on the song she had just completed. I obliged and started doing that for all of my students. They loved it! Stickers on their music turned into stickers on the front cover of their books. They all started keeping track of how many stickers they earned, but there's a problem with keeping stickers on book covers; they either fall off or get ripped off one way or another. I had one child come to his lesson in tears because his favorite sticker fell off his book and he couldn't find it. I decided to find a way to help my students keep track of their stickers without losing them. I grabbed a handful of index cards, wrote each of my students names and bound them together with some yarn. Problem solved. Woohoo! 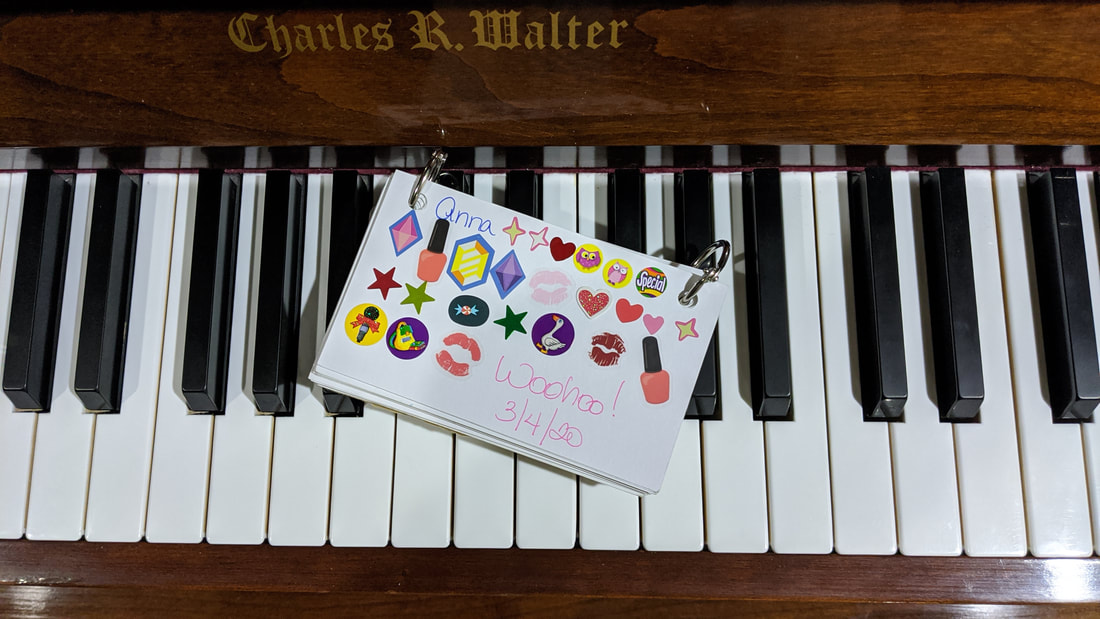 I started doing this in 2009. It wasn't until 2012 when I came across Joy Morin's blog, Color In My Piano, that found other piano teachers were doing the same thing! AND they were giving prizes! (I swear I love the prizes just as much as the kids do sometimes) 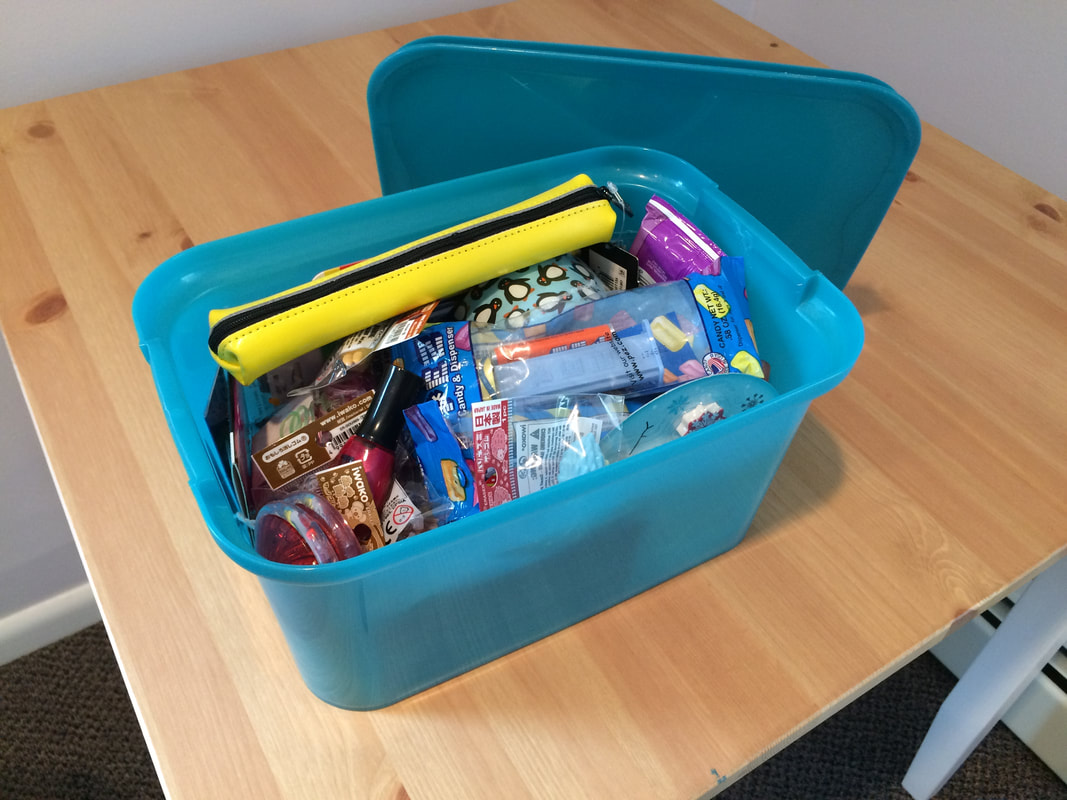 How It Works Students earn 1 sticker for each page of music they learn or sightread, each theory sheet they complete, and for knowing the "Music Symbol of the Week". When they reach 25 stickers, they pick a prize from the Prize Box. We flip their card over and do it again. Once the second side is full, they get to take their card home and receive a new one to start filling up. I think this incentive is so effective because every sticker, every card, and every prize is new, just like the pieces they're learning. It's also great for online music lessons because your students can still earn stickers. Then when they earn their prize you can either send them a digital gift (gift card, coupon, music, digital download, etc) or you can send them a gift in the mail. If you know you're going to see your students in-person again (like me), just let them know they'll be able to pick their prize as soon as you're together again. Do you have practice/learning incentives? What works with your students? Let me know in the comments below.  On Wednesdays we celebrate the wonderful things in life! This was just too good not to share. Happy Wednesday!  Over the past several weeks, I've been sharing several resources I've created and used in my music studio as we transition to online music lessons. In March, I shared 11 benefits of online music lessons. Last week were student and parent guides to online lessons. In today's post, I'm be sharing dynamics practice sheets. These fun llama-themed sheets - from my "Llama Hear Ya Play!" series - will help your students understand reading and playing with dynamics on the piano! The theory sheets can be emailed to your students or printed and put into their piano practice packets! Using the packets There are 3 versions of the dynamics practice sheets: Pre-Reading, Beginner, and Elementary.  Each packet has an informational page that introduces the dynamics forte & piano, their definitions, and a description of how to play them properly on the piano. The next page provides your students the opportunity to practice these dynamics with easy to read and play exercises. Packets can be used as an introduction to dynamics in your students' lessons or you can send it to your students as a fun supplement to their daily practice routine. Download includes:
Click the photo to download the Llama Hear Ya Play! Dynamics Packets or on the link below.   On Wednesdays we celebrate the wonderful things in life! This week, I am on Spring Break. Woo! My original plans were to have a beach getaway with my husband. Except, Coronavirus. Except, social distancing. Except, travel bans. Except...meh. Except, instead of being upset about our plans changing, I'm choosing to revel in the wonderful things about being home.
Instead of feeling discouraged about being "stuck at home", I'm choosing to take this time to be grateful for what I do have and to do things during this time that I normally wouldn't be able to do. And now if you'll excuse me, I have a Bob Ross landscape to paint. 🙂 Happy Wednesday! I, like you, have been a busy bee these past few weeks.
In addition to teaching, running a multi-teacher business, transitioning my other teachers and their students to online lessons, and transitioning church services to an online format, I've been hard at work creating teaching materials. You may have noticed there wasn't a post last Friday. That's because I chose to use that time to create new resources that I think will benefit you more than reading me ramble on about being a piano diva. Don't worry that post will come! :) Back in March, I shared 11 benefits of online music lessons with you. If you haven't read it and grabbed your freebie, head over there now before continuing on! Got your freebie? Great, here are the next ones! After creating that download, I realized that very few of my parents needed convincing about how good it is for them to continue lessons and needed more guidance in how to help their children succeed, so I created a guide, or cheat-sheet if you will, for parents and students to help with having successful online music lessons. You can get your free guides here: Student Guide Parent Guide I hope your families find these resources as useful as mine found them! |
Archives
February 2022
Categories
All
|
 RSS Feed